ZF2 Modules Quickstart (Screencast)
One of the exciting features of the newly released Zend Framework 2 is the new module system.
While ZF1 had modules, they were difficult to manage. All resources for all modules were initialized on each request, and bootstrapping modules was an onerous task. Due to the difficulties, modules were never truly "plug-and-play", and thus no ecosystem ever evolved for sharing modules.
In Zend Framework 2, we've architected the MVC from the ground up to make modular applications as easy as possible. Within ZF2, the MVC simply cares about events and services — and controllers are simply one kind of service. As such, modules are primarily about telling the MVC about services and wiring event listeners.
To give you an example, in this tutorial, I'll show you how to install the Zend Framework 2 skeleton application, and we'll then install a module and see how easy it is to add it to the application and then configure it.
To keep things simple, I'm using a unix-like environment. As such, if you are on Windows, you may not have the same command-line tools available. If you are in such a situation, perhaps try this inside a Linux virtual machine.
Zend Framework 2 Module Quickstart
Let's start by creating a new project. We'll execute a few commands to download a skeleton application archive and extract it.
$ mkdir newproject
$ cd newproject
$ wget https://github.com/zendframework/ZendSkeletonApplication/tarball/master \
> -O ZendSkeletonApplication.tgz
$ tar xzf ZendSkeletonApplication.tgz --strip-components=1
The Zend Framework skeleton application can be downloaded directly off of
GitHub. I'm showing using the download from master, but
you can also download a tarball or zipball for individual tags as well. Because
the download URL does not include an extension, I use the -O switch to tell
wget what filename to save to.
tar has a nice option, --strip-components, which allows you to tell it
to descend a certain number of levels deep into the archive when deflating.
Since I know the tarball has a top-level directory named after the repository
and a sha1, I'm simply telling tar to skip that and give me the contents of
its child directory.
At this point you have the skeleton application, but it has no dependencies — not even Zend Framework itself! Let's rectify that situation. We'll use the dependency management tool Composer to do this. We include the Composer phar file within the skeleton application to make this fairly easy. Simply execute the following:
$ php composer.phar install
You may get a notice indicating that the composer version is older, and to run
self-update; you can ignore that for now.
If all goes well, you should now have Zend Framework installed. Let's test it out. I'm going to use the built-in web server in PHP 5.4 to demonstrate.
$ cd public
$ php -S localhost:8080
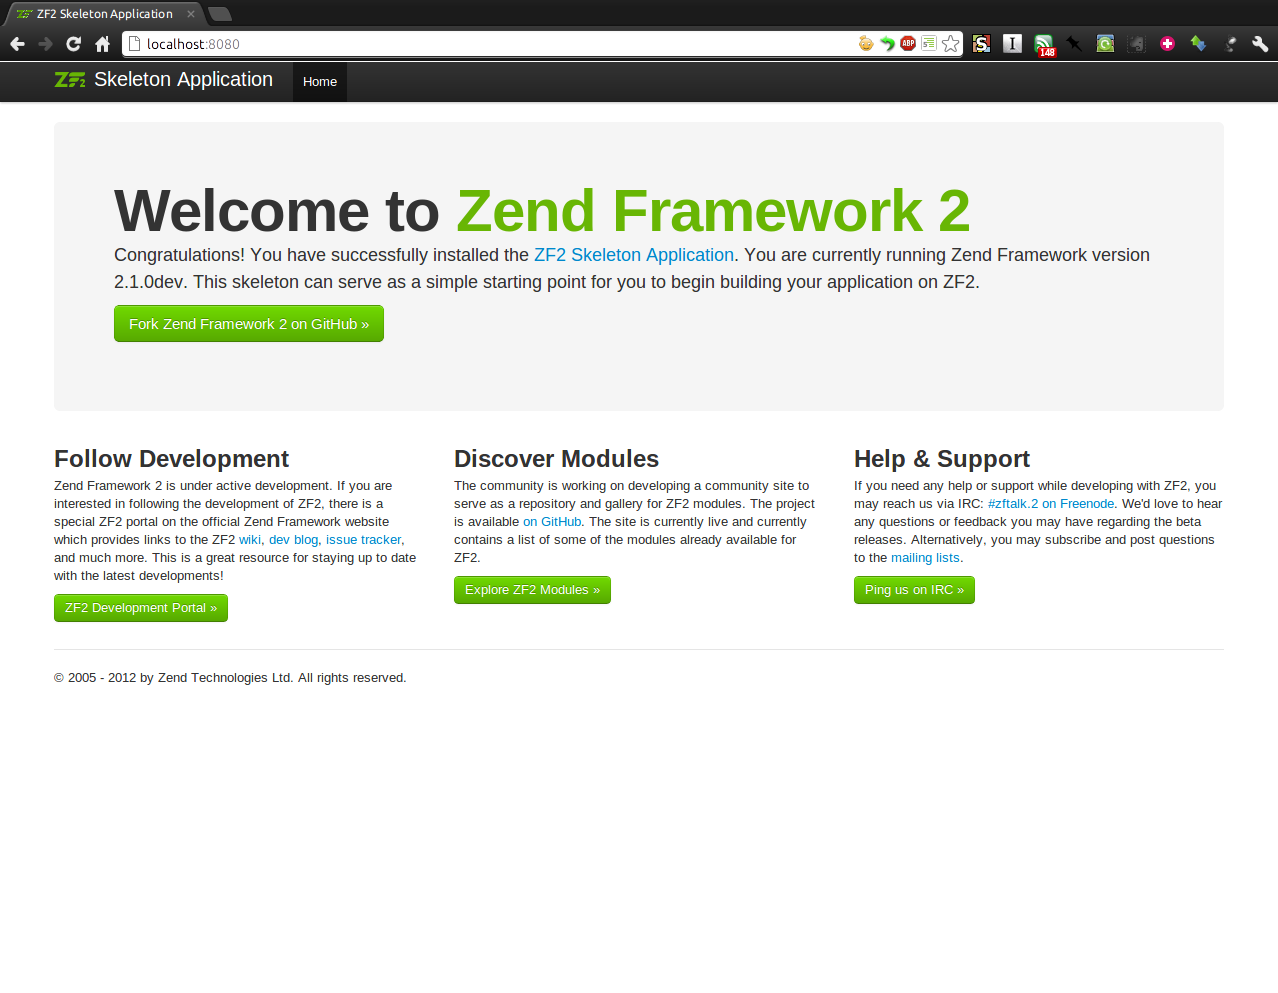
If I browse to http://localhost:8080 I should now see the landing page for
the skeleton application.
Let's add a module to the application. Many sites require a contact form. I've
written one as a module some time ago, and called it
PhlyContact. To install it,
I'll edit my project's composer.json and tell it about that dependency:
{
    "require": {
        "php": ">=5.3.3",
        "zendframework/zendframework": "dev-master",
        "phly/phly-contact": "dev-master"
    }
}
I know the name of the component from http://packagist.org/, and I'm telling Composer that I want to use whatever the latest version is on its master branch on GitHub. I happen to also know that PhlyContact requires a dev-master version of Zend Framework, so I'll alter that dependency for now.
Now, we need to tell composer to update our dependencies.
$ php composer.phar update
After executing the command, we should now see that it has installed; this may take a little while.
You need to inform the application about the module. This is so that we don't
have to perform expensive file-system scanning operations, but also to make it
explicit in your code what modules you're actually using. Enabling a module is
usually as easy as adding an entry to config/application.config.php:
'modules' => array(
    'Application',
    'PhlyContact',
),
This particular module provides some reasonable defaults. In particular, it
uses a CAPTCHA adapter that doesn't require additional configuration, and
assumes that you will want to use the default Sendmail mail transport. As
such, we can simply browse to it now. I happen to know that the module defines
a /contact end point. Let's fire up our PHP web server again, and browse to
that URL.
$ cd public
$ php -S localhost:8080
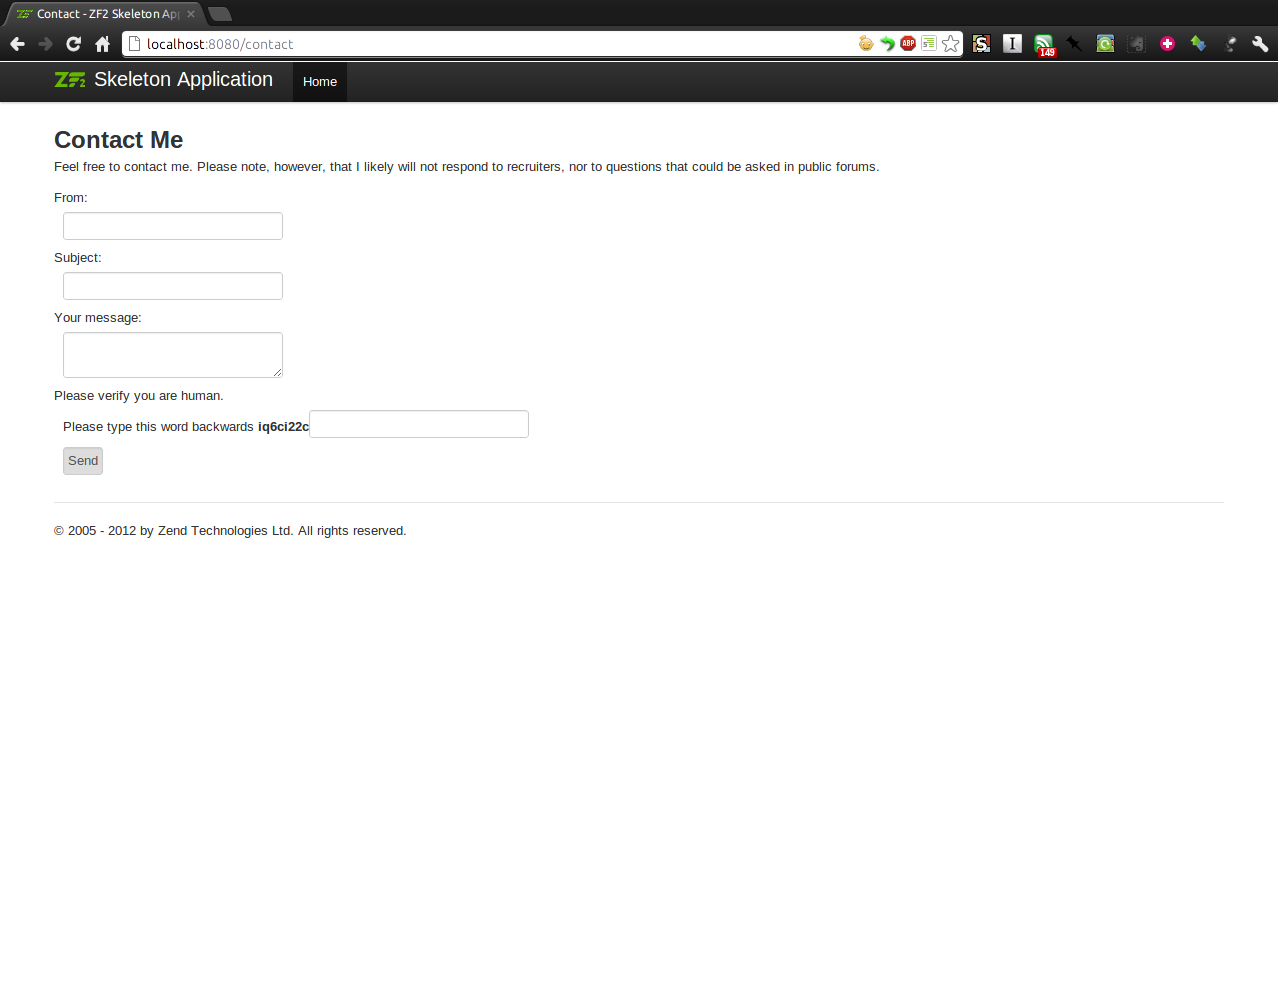
It just works!
One philosophy we have for distributable modules in Zend Framework 2 is that you should not need to touch the code in modules you install in your application. Instead, you should be able to configure and override behavior within the application configuration or in your application's site-specific modules. Let's alter the contact module to:
- first, change the URL it responds to, and
- second, use the "file" mail transport.
Let's look at the default configuration. I'll browse to
vendor/phly/phly-contact/config/ and look at the module.config.php file.
return array(
    'phly_contact' => array(
        'captcha' => array(
            'class' => 'dumb',
        ),
        'form' => array(
            'name' => 'contact',
        ),
        'mail_transport' => array(
            'class' => 'Zend\Mail\Transport\Sendmail',
            'options' => array(
            )
        ),
        'message' => array(
            /*
            'to' => array(
                'EMAIL HERE' => 'NAME HERE',
            ),
            'sender' => array(
                'address' => 'EMAIL HERE',
                'name'    => 'NAME HERE',
            ),
            'from' => array(
                'EMAIL HERE' => 'NAME HERE',
            ),
             */
        ),
    ),

    /* ... */

    'router' => array(
        'routes' => array(
            'contact' => array(
                'type' => 'Literal',
                'options' => array(
                    'route' => '/contact',
                    'defaults' => array(
                        '__NAMESPACE__' => 'PhlyContact\Controller',
                        'controller'    => 'Contact',
                        'action'        => 'index',
                    ),
                ),
                'may_terminate' => true,
                'child_routes' => array(
                    'process' => array(
                        'type' => 'Literal',
                        'options' => array(
                            'route' => '/process',
                            'defaults' => array(
                                'action' => 'process',
                            ),
                        ),
                    ),
                    'thank-you' => array(
                        'type' => 'Literal',
                        'options' => array(
                            'route' => '/thank-you',
                            'defaults' => array(
                                'action' => 'thank-you',
                            ),
                        ),
                    ),
                ),
            ),
        ),
    ),
    /* ... */
);
Okay, that's interesting. I can define the captcha and options to use, the name of the contact form, the mail transport I want to use, and even who the email is sent from and who it goes to. In addition, it defines some routes.
I'll create a new file, config/autoload/phly-contact.local.php. This is a
local configuration file that will not be checked into my version control
system. Now, let's add some configuration. First, I'll configure my mail
transport.
return array(
    'phly_contact' => array(
        'mail_transport' => array(
            'class'   => 'Zend\Mail\Transport\File',
            'options' => array(
                'path' => 'data/mail/',
            ),
        ),
    ),
);
I'm telling the module to use the File mail transport, and telling the
transport where I want messages written. By default, Zend Framework calls
chdir() to change directory to the project root, so I can reference a
directory relative to that. I'm simply going to write to a data/mail/
directory. Let's create that, and make it world-writable for now to ensure the
web server can write to it. (In production, you'd only want it writable by the
web server user.)
$ mkdir -p data/mail
$ chmod a+rwX data/mail
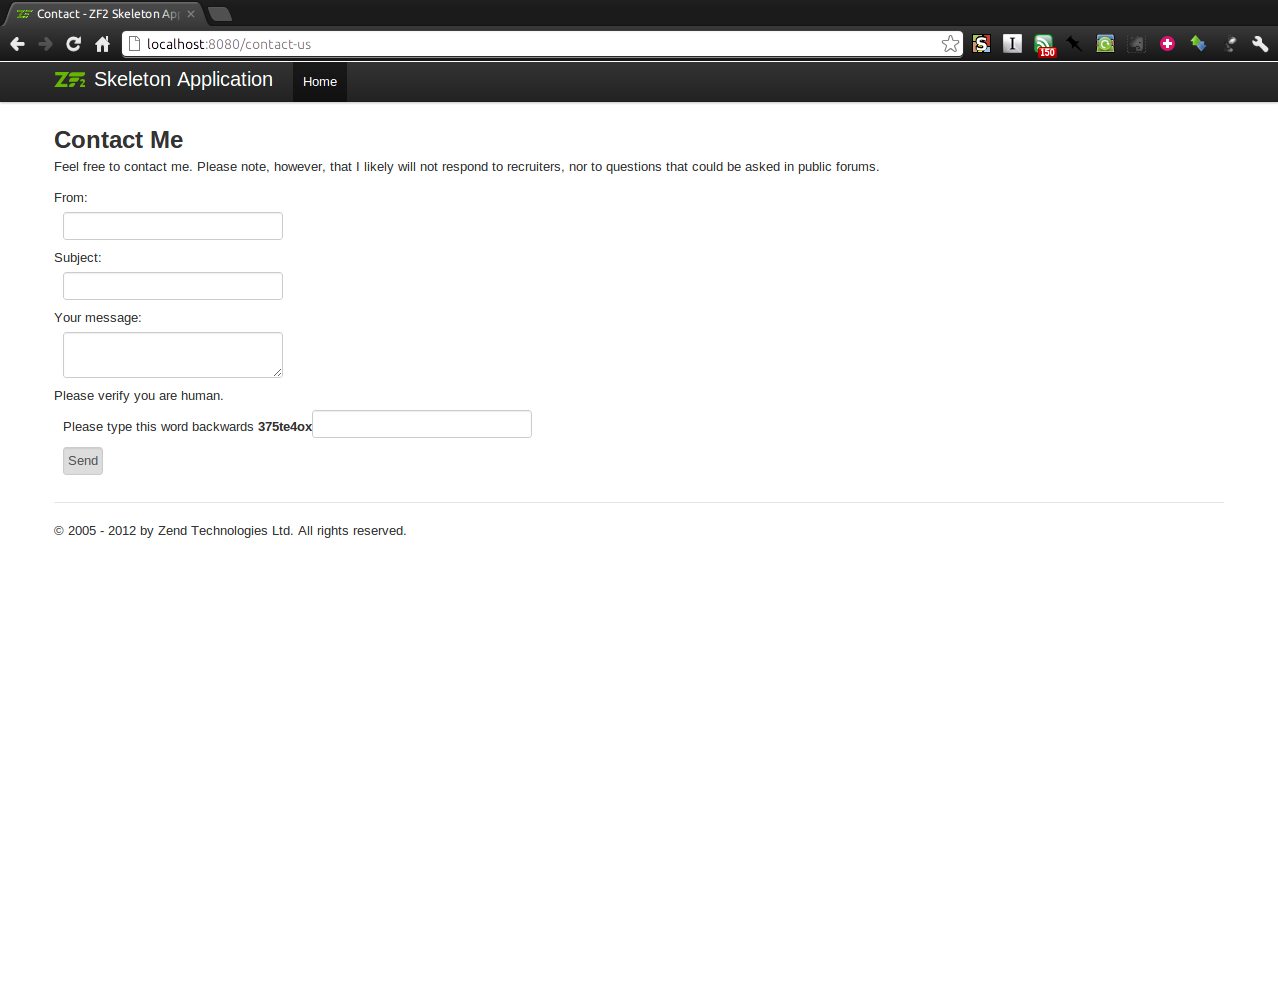
Now, let's change the base URL the contact form responds to; I want it to
respond to /contact-us. Another principle of re-usable modules in ZF2 is that
we recommend creating tree routes for each module, with the root of the tree
being a literal route. This makes it easy to alter the base for routing,
without needing to redefine all the routes in the module.
I'll add the following to my local configuration, then. I'll simply override the parent route for my module, named "contact", and point it at a different URL.
    'router' => array(
        'routes' => array(
            'contact' => array(
                'options' => array(
                    'route' => '/contact-us',
                ),
            ),
        ),
    ),
Let's see if all this worked! Once again, I'll fire up PHP's built-in web server.
$ cd public
$ php -S localhost:8080
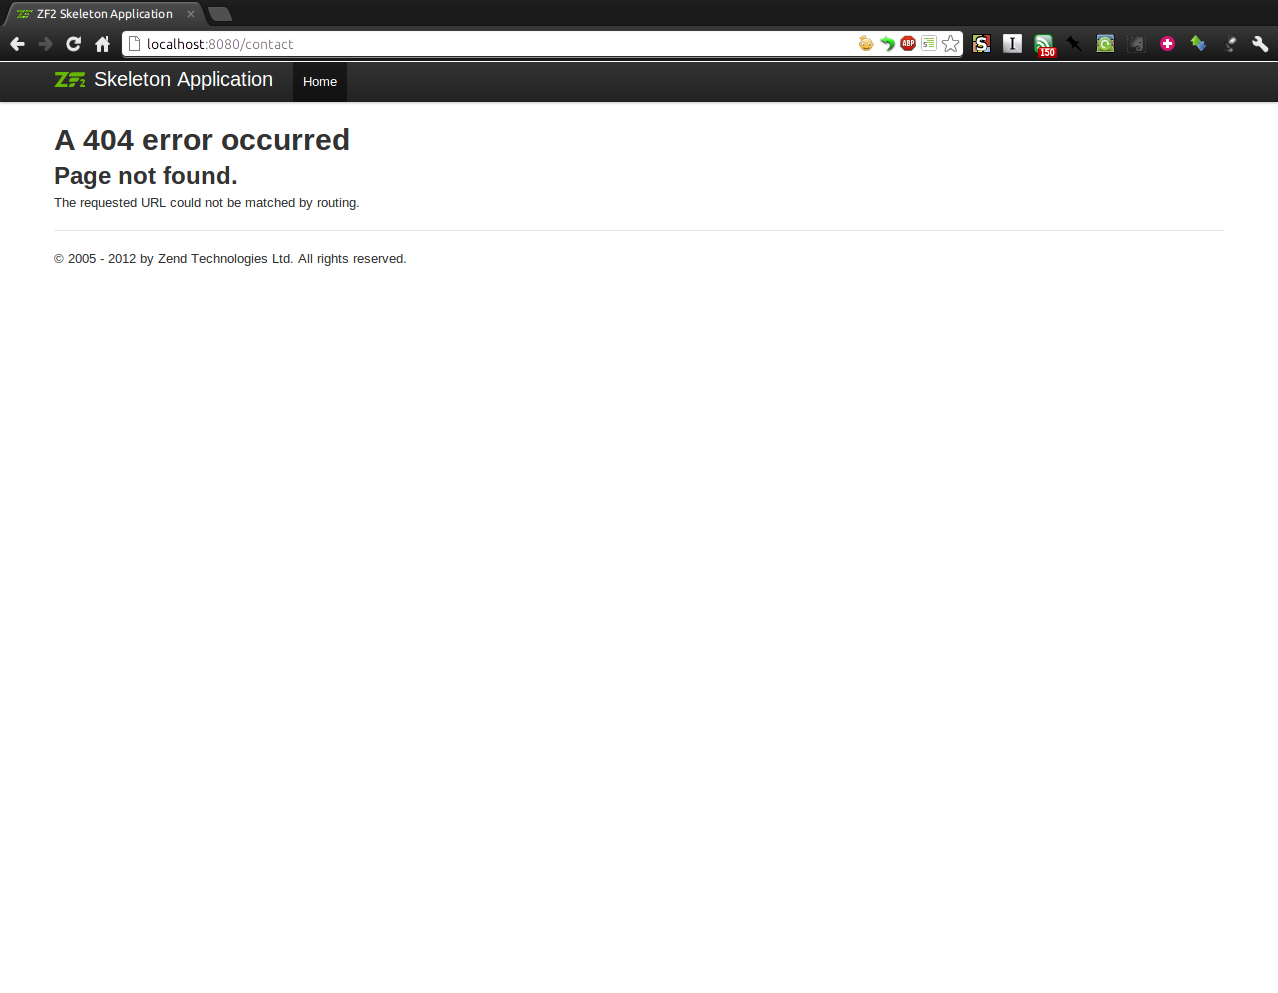
Now, let's browse to http://localhost:8080/contact-us — looks good! Just as
an experiment, let's try the previously configured URL,
http://localhost:8080/contact. We get a 404 now!
Now, let's submit the form. I'll fill in some information; it's asking for my email address, a subject line, and a message, as well as for me to solve a simple CAPTCHA. Once I've done all that, I can send it.
If all is well, we should now have a mail file in our data directory. Let's check.
$ ls -l data/mail/
And now let's look at it.
$ cat data/mail/ZendMail_1347989389_1009740165.tmp
Date: Tue, 18 Sep 2012 12:29:49 -0500
From: me@mwop.net
Reply-To: me@mwop.net
Subject: [Contact Form] Suspense!

Suspenseful, isn't it?
Looks good!
Zend Framework 2 provides a wonderful modular architecture that will enable an ecosystem of 3rd party modules that should save you time and energy when developing your applications. I've demonstrated a simple one, a contact form, but many, many more already exist, and with a stable release now available, you should see that number grow. This is truly a wonderful step forward for developers, and I hope you find it as exciting as I do.
